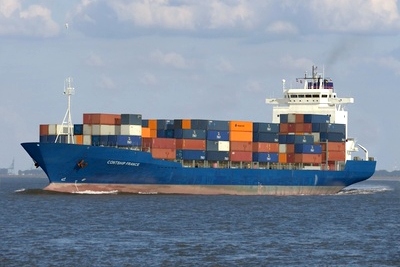
The original type is the shiptype BV1600 / BV 1800 built in the 80s and 90s by different German shipyards.
On this page I would like to show you the different steps of the development and of course the final renders.
It was my aim to build a model that can be rendered to look like a real vessel.
The model was never designed to be included in games (because of the large number of used polygons) or in video sequences.
Building the hullI started with building the hull. I used a special program that helps designing a realistic body. I tried to build the hull as real as possible. I looked at 100s of photos of the shiptype, talked to engineers and studied original plans to design the hull the right way. Here are some screenshots of the (not finished) hull. | 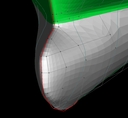 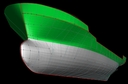 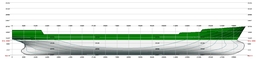 |
Building the superstructuresThen I started building the superstructures and the technical equipment. I used a freeware 3d editing software to create these parts of the model. The first versions were quite simple, but within the next months more and more details followed. At the end I had built quite realistic looking superstructures. Click on the thumbnails to see the large screenshots. | 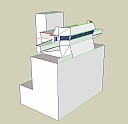 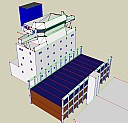 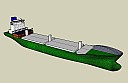 |
Joining the hull and the superstructuresA quite impressive moment was the joining of the hull and the superstructures. It was not as simple as I thought to scale both parts of the model to fit. But at the end I completed this difficult challenge. Some first containers followed to test the dimensions of the holds and the spaces between. The next step was to create the cranes (see some rough copies on the screen shots). They had be fined out later on. | 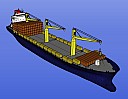 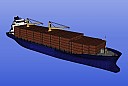 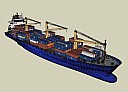 |
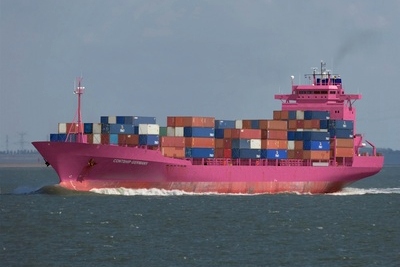
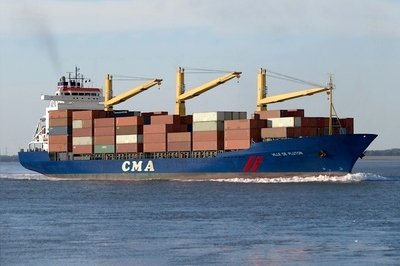
The original vesselIt was quite clear to me which real vessel I wanted to create as a model. I chose the pink Contship Germany. See the photo of that vessel I took in 1992 when the vessel arrived at Hamburg. | 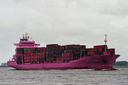 |
Rendering the modelSeveral months I had been looking for a software to create realistic looking "photos". Finally I fond the freeware Blender. Blender is a well-known render software. I converted my model so Blender could read the file. Then I started my first render. | 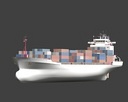 |
Improving the modelI learned to use Blender with all its possibilities. I created lights, environment light and shadows. I created materials with different properties to improve the quality of the rendered image. | 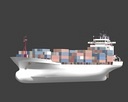 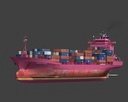 |
Creating the photoThen it was time to insert the rendered model into a realistic scene. I prepared a real photo for the model. Then I had to adjust some light effects again. Some shadows had to be adjusted as well. | 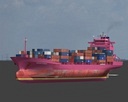  |
Here are some of the photos I rendered.
more to come...